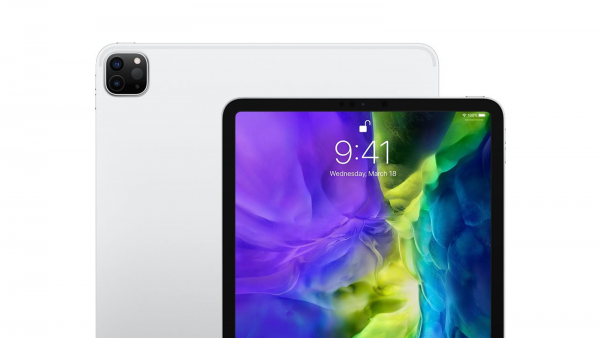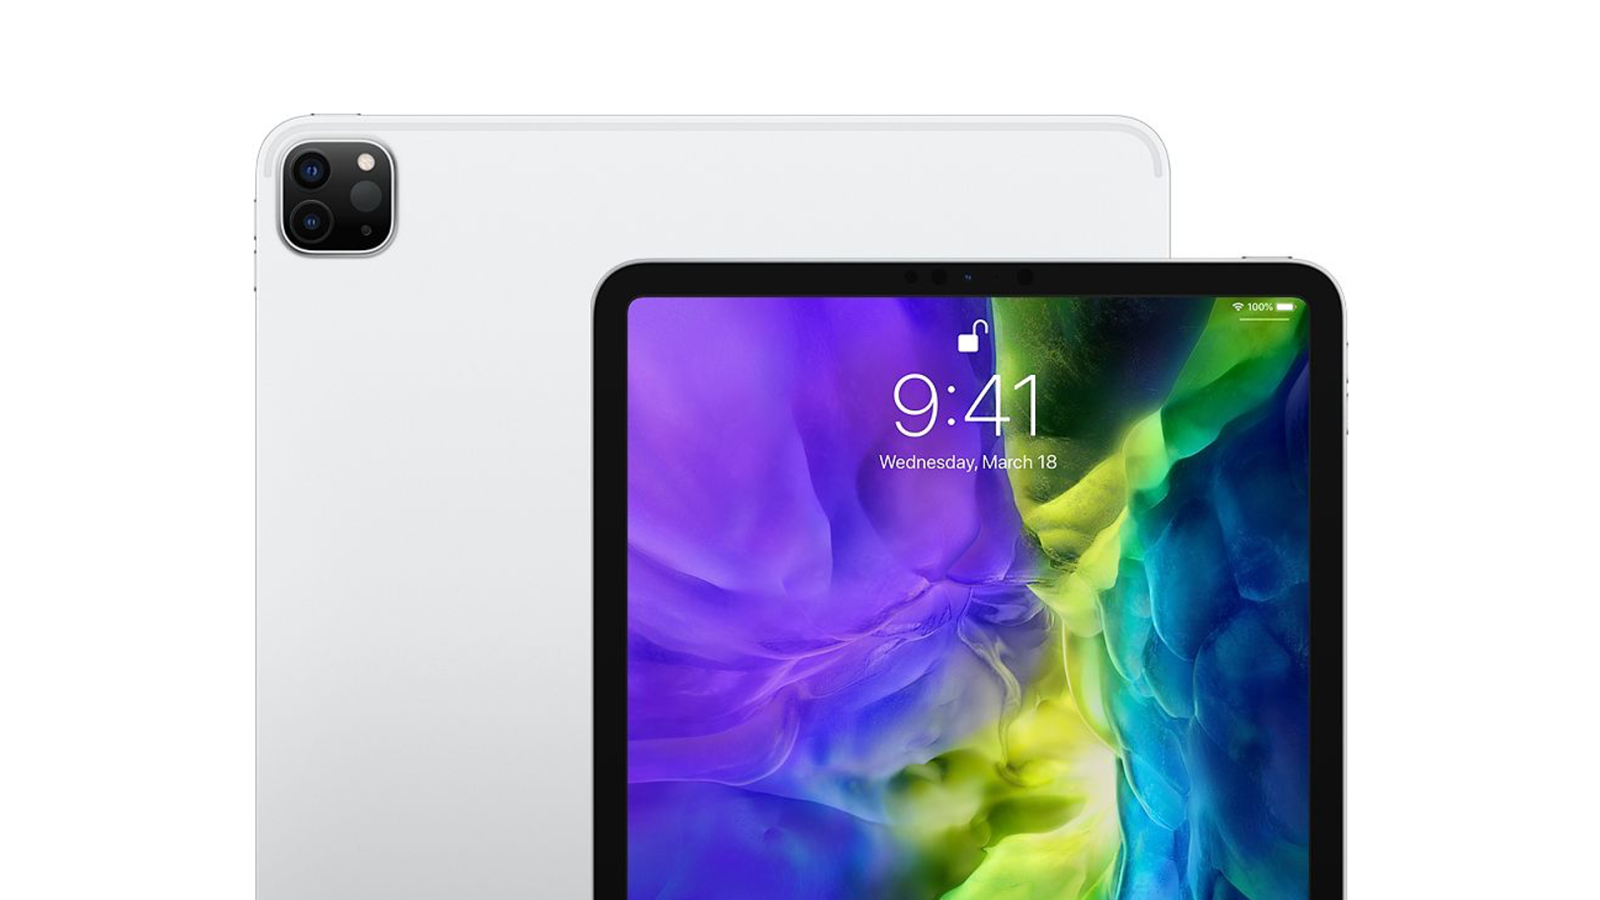
The iPad was first released in 2010 by Apple Inc. The most recent model is the 7th generation iPad, released in 2019. It’s important to distinguish between the old and newer models because locking the screen on these gadgets will depend on which category they fall in. Older models include the iPad Air, iPad 2, and the 3rd and 4th generation iPads.
There could be several reasons a user wants to learn how to lock their iPad screen, so it’s essential to be aware of the procedures to do this. Additionally, there are varying degrees of the screen locking feature.
How to lock the screen on your iPad

Locking Screen rotation on the iPad
With the screen on, slide your finger from the top towards the bottom on the right-hand side of your screen. Many icons will be displayed, including the Rotation Lock indicated by a padlock. When you tap on it, it will read “Rotation Lock: On.”
Doing this prevents the screen from auto-rotating if you tilt the iPad on its side.
Please note that you can slide your hand from the right-hand side of the screen and not from the middle of the screen.
To unlock the screen, repeat the earlier motions and press on the ‘Rotation Lock’ icon to turn it off.
On older models of the iPad, these same results can be achieved by sliding your finger from the bottom and going upwards.
Locking your screen using the Side switch
This applies only to older models, some of which are mentioned above. For newer models, you can approach this action from the Control Centre.
So first, go to Settings, press General, and select Lock Rotation.
(Please note that a recent update by iOS changed the side switch to serve the role of Mute instead, which is why this feature cannot be achieved in the newer iPad models.)
Depending on which rotation your iPad was using before the screen lock, whether it was portrait or landscape, that is the rotation in which it will remain during the screen lock.
Guided Access
This more complicated route is recommended for parents, although it can also be used to keep out random third parties.
Parents use it to keep their children out of areas on their iPad that are not child-friendly.
Here’s the step-by-step process:
First, find your way to the Settings area, then under General, click on Accessibility. Scroll down until you see the Guided Access icon, then press it. Once on that page, activate the Guided Access by moving the toggle to the right.
Next, you’ll be prompted to create a password using one of three ways – either a 4-digit passcode, Touch ID, or Face ID. This restriction ensures that you are the only one with the authority to turn Guided Access on or off.
Afterward, go back to the previous page and tap on the Accessibility Shortcut. This gives you a faster way to get to Guided Access by pressing the home button three times in quick succession.
Armed with your shortcut, you can now go to the app your child intends to use.
Using your fingers, circle the areas you want to render inactive on your screen. You can draw shapes around them, effectively marking the perimeters of where your child can access them.
If done well, this can keep your child from searching for new videos or new games, or any content that might not be appropriate for them.
Once finished, end this session by tapping the home button three times and using your passcode, Touch, or Face ID which you set up earlier.
Locking the screen on your iPad is a personal choice brought about by triggers in your environment. It’s up to you to decide which route you want to take.

